Home: Stepping Stones
Stepping Stones
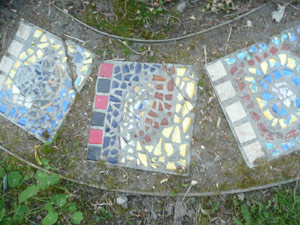
Stepping stones are a charming way to customize your garden or backyard paradise. As well as serving the practical purpose of keeping your feet dry in places where water naturally gathers or wells up in the spring, they can add color and whimsy. Simply walking across stepping stones can add a sense of playfulness (reminiscent of hopscotch and other childhood games) to how you and your guests experience moving through your outdoor environment.
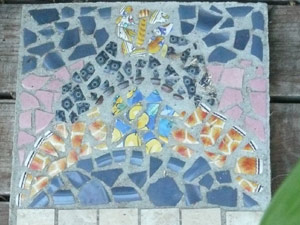
This week, we are featuring an article from a local Sonoma County artist who has created mosaic stepping stones for her garden. We hope you and your family enjoy her recipe for creativity.
Things to have on hand:
- Water – have a source of water close by – like a hose, or a large bucket of water.
- Mortar, 1 bag
- Form – the size of the stepping stone. It needs four sides and a bottom. Or it could be something circular, if you can find something that would work.
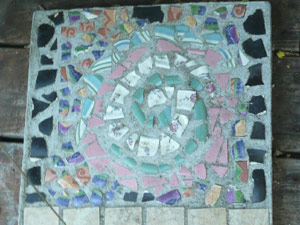
- Shards – broken pottery, or glass. You can either use things you have around the house that have broken, or you can take a trip to the flea market, or a second hand store to find likely looking interesting dishes, etc. that you will break for use in stepping stones. I used to find plates and bowls galore for quite a reasonable price… Think about color and patterns–they are more fun to play with.
- Bucket to mix the mortar in.
- Hand tool to mix the mortar.
- Sponge or rag.
- Gloves.
- WD-40 to spray the form to make it easier to remove the stepping stone when set.
Method:
- I usually arrange the shards loosely into a pattern or design before continuing.
- Spray the inside of your form with WD-40.
- Mix mortar in the bucket to the consistency of wet clay. You will need to experiment with the proportions, but it should be more wet than it is dry.
- Pour mortar into your form and begin placing the shards into the soupy mortar. You will need to work fairly quickly because as the mortar dries, it will set and make it difficult to place the shards.
- I use a piece of plywood, approximately the same size as the form, to press the shards into the mortar more or less uniformly after they have all been placed.
- Use a damp sponge or rag to remove the coating that accumulates on the surface of the shards.
- Wait. (Patience is a virtue.)
- Once the stepping stone sets, you will need to use your damp sponge or rag once more to remove the accumulated coating on the surface of the shards.
- Remove your stepping stone from the form. To do this, turn it upside down and gently tap the bottom of the form with a small hammer to release the stepping stone. Viola!
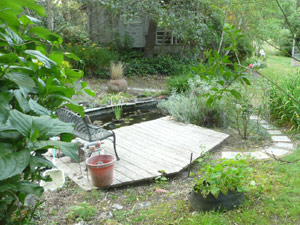
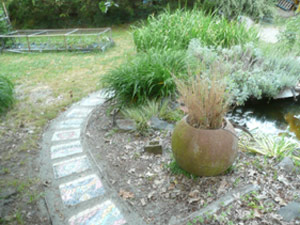
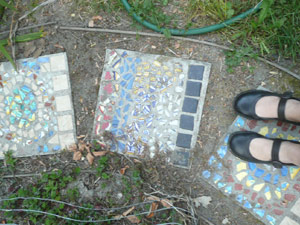
When you are done, place the stepping stones on leveled ground (use a shovel to even out any bumps in the bare dirt). You may choose to add sand or similar stabilizing materials if you prefer to create an even pathway. You can also measure equidistant lengths from one destination to another, but be sure to pace your path to make sure the stepping stones are not too far apart for comfort of stride. Arrange in a pleasing order and enjoy your path in your secret garden.
By Lee Weisman, special correspondent
Your materials list and directions are very clear. Thank you. The challenge is the design. (: